It’s often a hassle if a lover is ruined and the individual responsible for its maintenance is not able to solve it. There are distinct issues that may arise in fans like the motor needing to be altered, a busted fan belt that can not spin correctly, noisy noises coming out of the fan at times when it should not, etc. You may be unable to fix one issue but with knowledge about different types of harm, you need to be able to at least identify the issue. When you know the damages, then you might find the enthusiast repairing it for you. You might just need to contact your service provider or the producer of the fan to determine the issue.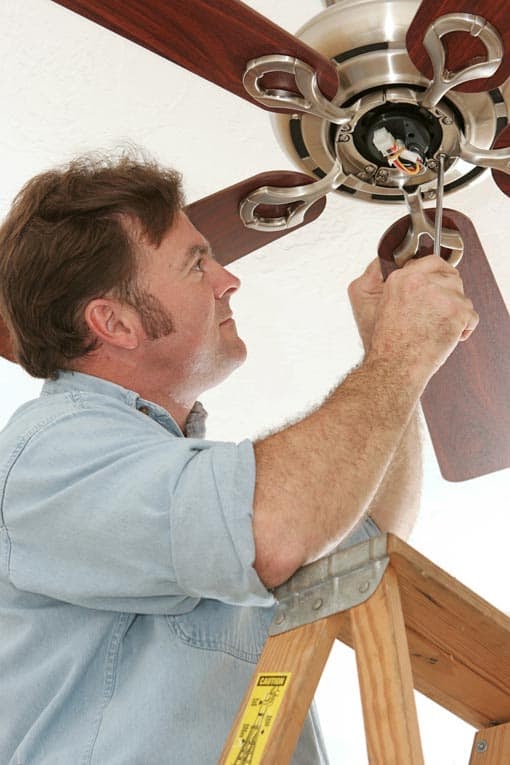
Fan Repairing
The very first thing that you want to identify is the type of harm. This can help you determine what part needs to be replaced. If you are unsure, then you can have a look at your owner’s guide and get advice from there. In some cases, the engine has to be replaced since it’s broken. But you need to be very cautious when doing so because a wrong move may cause more harm. So it’s suggested that the engine is removed and inspected thoroughly before moving with fan repairing.
Fan Repairing
Second, the place where the fan is situated is quite important. By way of example, if the fan has been put beside the window then it needs to be taken out while the window has been opened. On the other hand, some versions are adjusted to the wall. They will have to be unscrewed before obtaining the motor. If the fan is put on the table, then be certain that you have switched off the power before getting to the engine. Otherwise, you may short the circuit board.
The next thing to do is to ensure you have all of the tools required to execute the work correctly. Many DIY fan repairing jobs need a range of screwdrivers, meter readers, a wrench set, tape measure, and so forth. These tools will make certain that the job is done right. However, if you don’t own them, then it’s recommended that you purchase them so you can easily fix your fan.
- After purchasing the tools, you need to take your lover and locate its screws. To do it, you want to open your door or window. Begin by removing the screws from the bottom side of the enthusiast. Now, search for the one that includes a lever attached to it.
You need to push the lever on its corresponding place and slowly rotate it. This will release the tension on the twisting clips that are holding the motor together. As soon as they are loose, then detach the fan out of its horn by pulling it up and backwards. Then, you need to unscrew the nuts that are located on the upper side of the pulley. At this time you can eliminate the spindle that’s secured to the position.
Next, the enthusiast needs to be disassembled to spot the screws which are holding it together. If you aren’t certain the way to do this, you can ask for support from anyone in your neighbourhood hardware store. When you have found all the screws, you must pull out them. Check whether there are any cracks on the fan blades or not. If there’s a crack, you need to fix it before reinstalling it.
Now that everything is finished, you need to reassemble the enthusiast and install the newest winding blades in precisely the same spot where the old ones used to be. The screws provided with the new pair ought to be adjusted into the gap. To keep the fan blades spinning properly, it’s recommended that you set a plate beneath it so it will be simpler to take care of. It’s also wise to ensure that the fan blade is aligned with the rotating shaft and that there are no leaks in some of its components. Whether there are any issues, you can ask help from an expert who is knowledgeable about electric appliances.